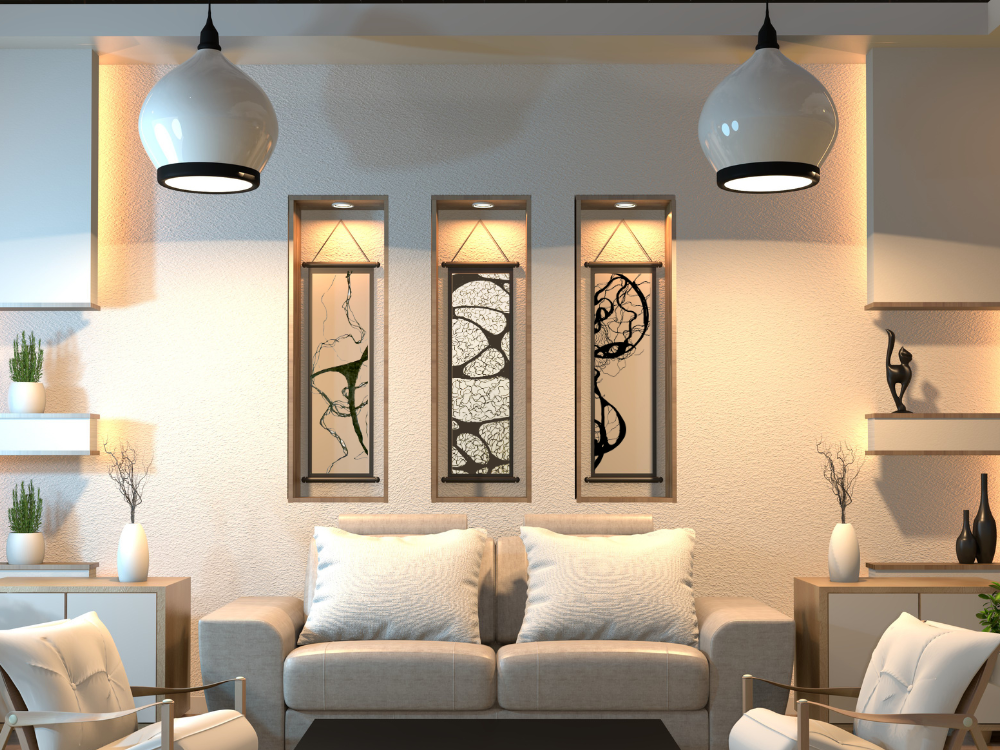
Have you ever looked at your walls and felt like something was missing?
You might have a few paintings scattered across your walls or perhaps you’re considering adding new ones but feel unsure about where to start or how to arrange them.
Whatever the case maybe follow the step-by-step guide below that will give you the basic idea of how to start with your wall art decor.
Step 1 – Find the Perfect Wall.
Decide on where you would like to hang your art.
Consider the space you would like to hang your art. Is it one large bare wall in your hallway? Is it a space between two doorways? Is it above your fireplace, couch, or bed? Or is it the stairways? Wherever that may be, the first step you need to do is measure the distance of the space you would like to hang your art.
Once you have decided on a wall to hang your art, move on…
Step 2 – Find the center of the wall.
Finding the centre of the wall varies depending on where you would like to hang your art.
Let’s measure the wall for a large bare wall
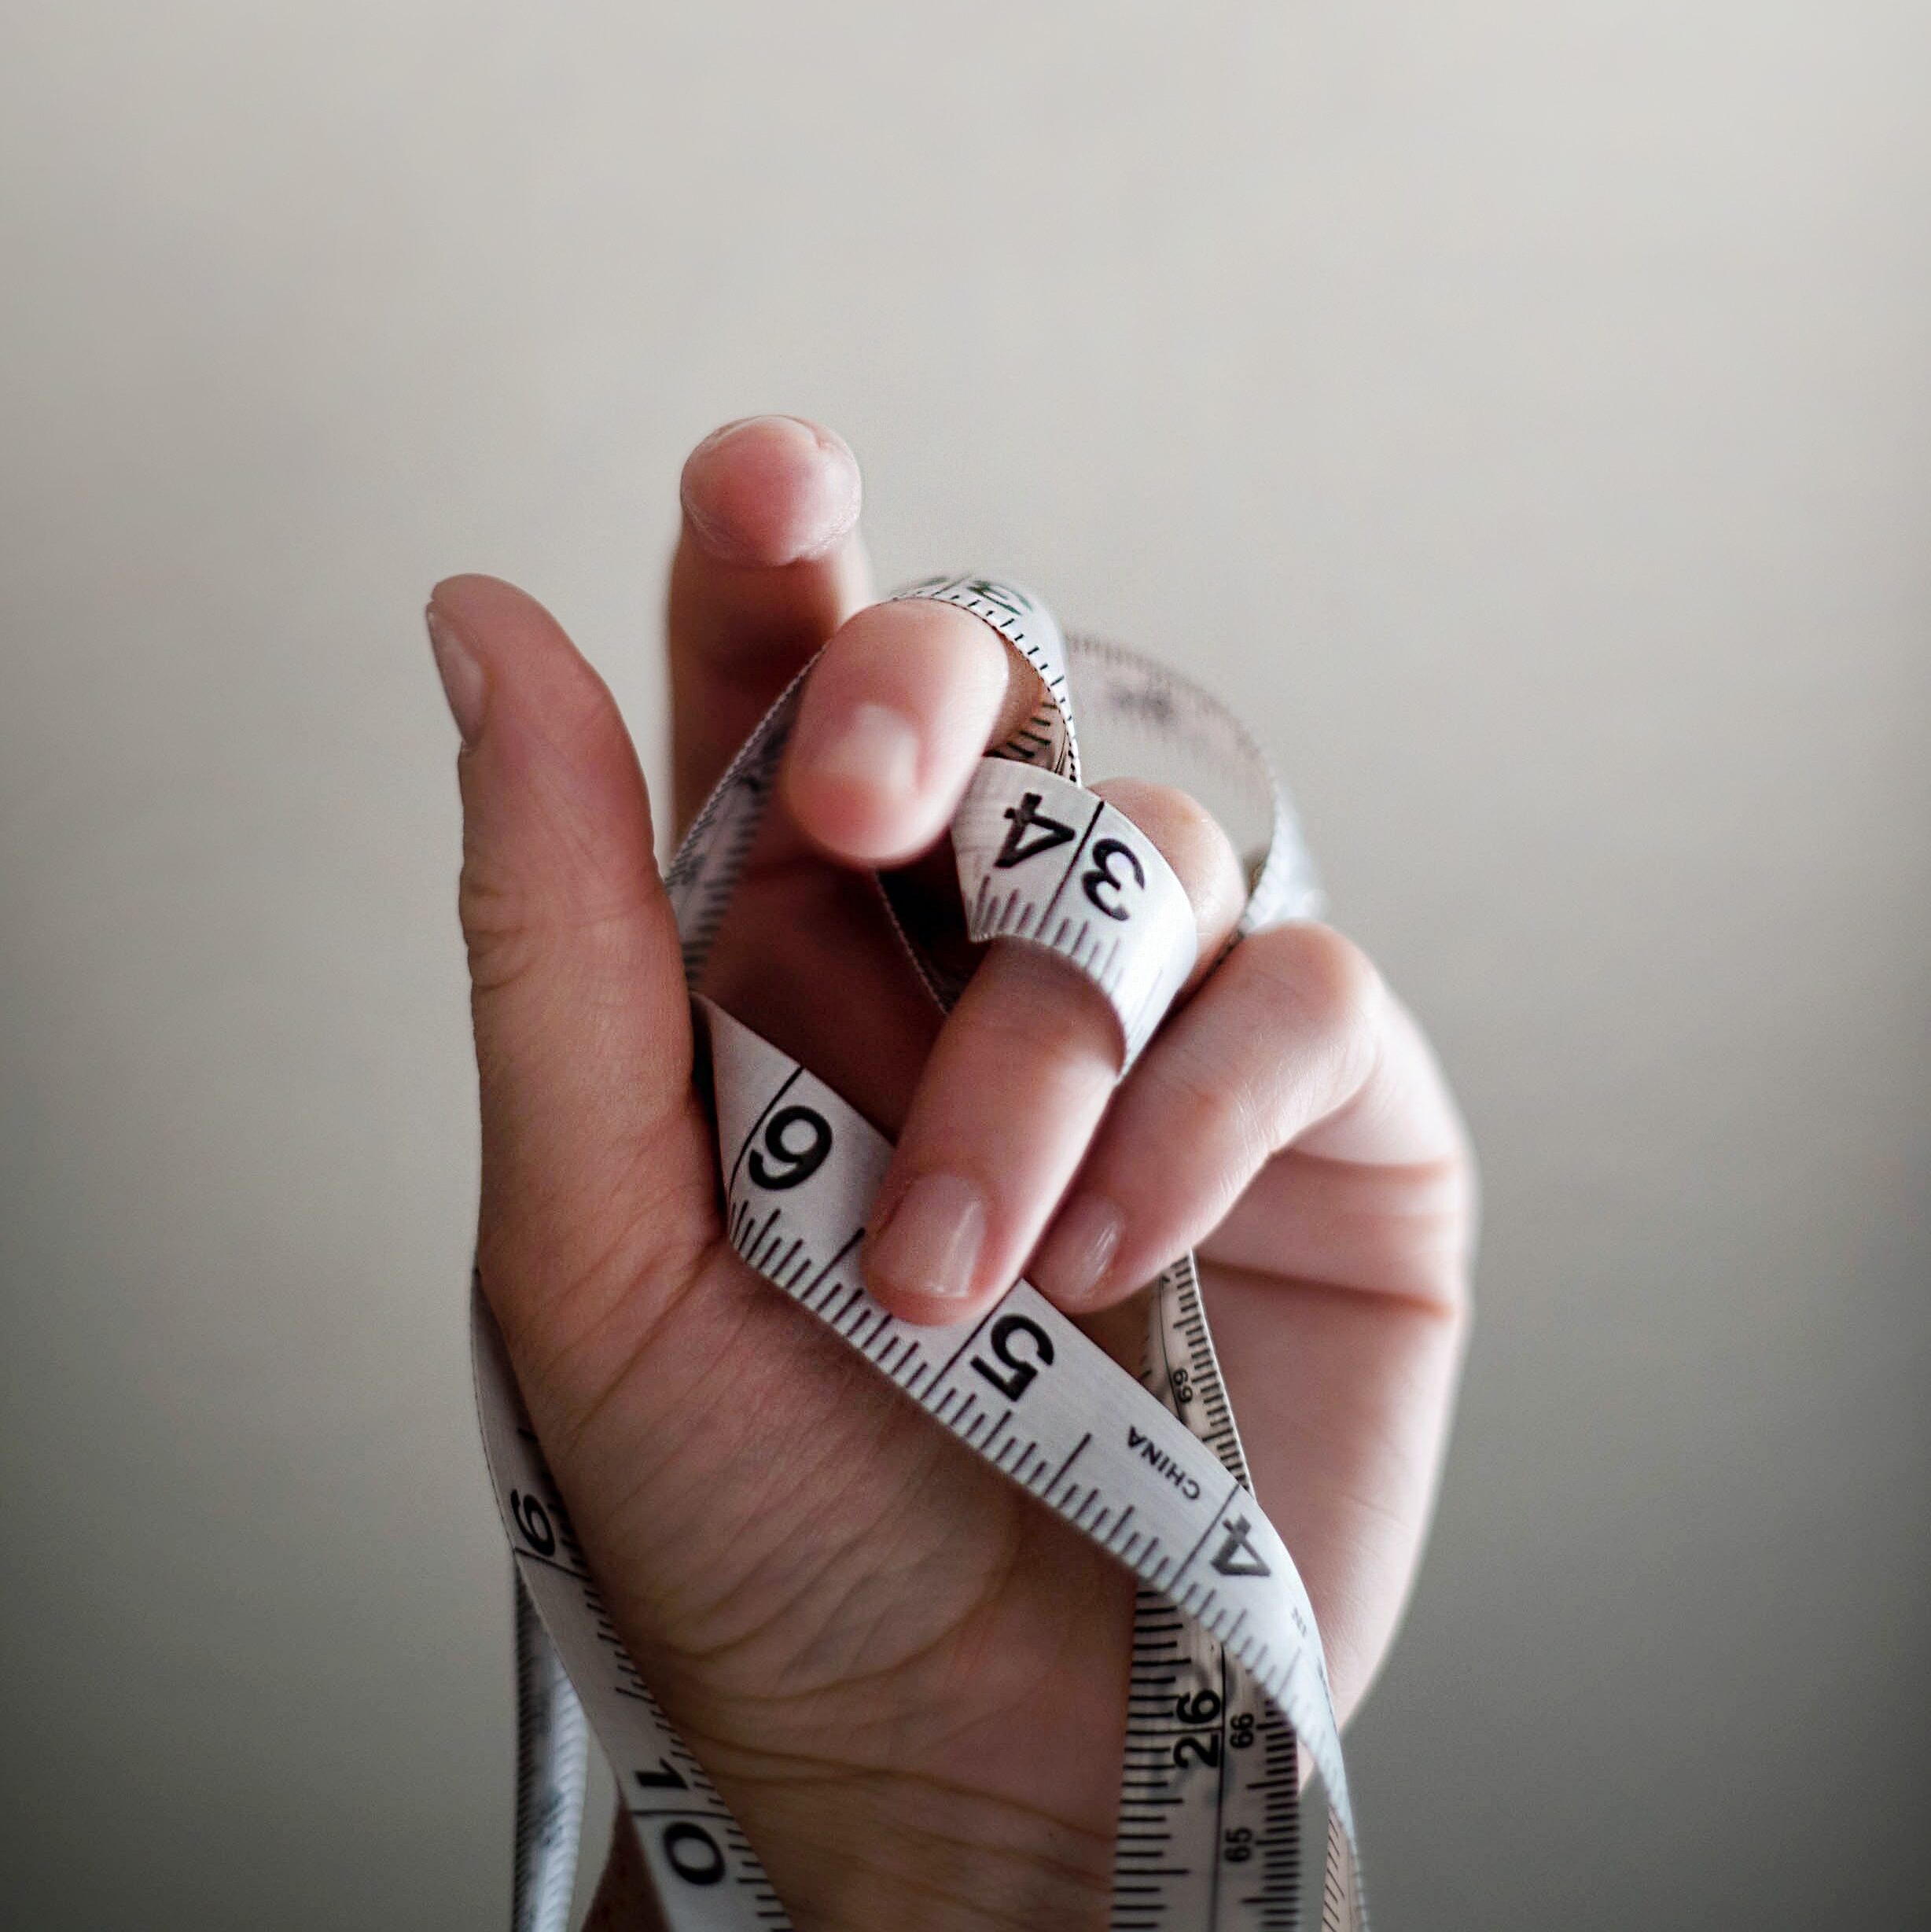
- Place the measuring tape on one end of the wall and take it across the other end.
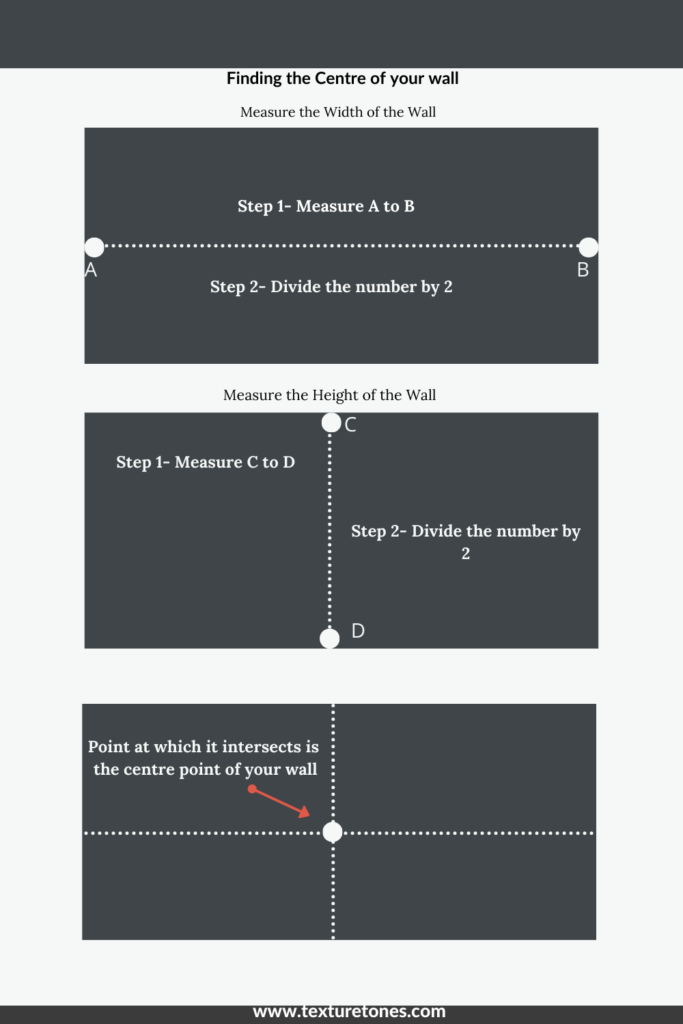
- Take the total measurement and divide by 2. Mark that number as the center of the width on the wall.
- The next step is to measure from the ceiling to the floor. Repeat the same step as above and mark the center.
- The point where both vertical and horizontal lines intersect is the center of your wall
Please refer to the picture below for easy reference
Let’s do it in another way to make it more simple if you find it difficult to take the measurement
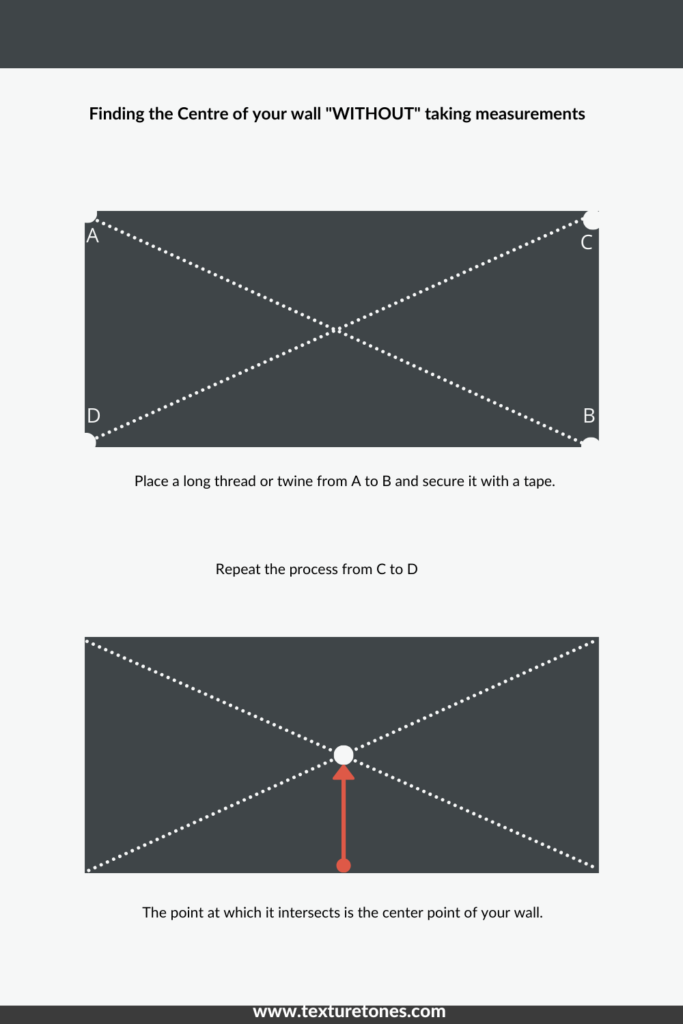
Find the center of the large wall WITHOUT taking measurement
- Place a twine or thread from the corner of the ceiling and secure it with tape and take the twine diagonally to the corner of the floor and secure it with tape.( Make sure the twine is straight and tight and not wiggly)
- Take another piece of Twine and repeat the same with the other side. The point where both the diagonal lines meet is the center of your wall.
Please refer to the picture below for easy reference
Step 3 – Sort Your Collection
Gather & Organize all your paintings
Once you have decided on your space and marked the center of your wall, gather your artwork. Look at the various sizes and orientations of your artwork, then sort them into groups based on their size and shape(landscape or portrait). The size and orientation of your artwork is something so important to consider before placing them on your wall.
You might have several ‘small paintings’ or ‘many large paintings ‘or a mix of both at home.
Dimensions and orientation of an artwork play a major role when deciding whether we need to place a single painting or create a gallery wall with different shapes and sizes of artwork.
The idea is to make the area cohesive so that your wall art stands out rather than feeling out of place.
Step 4 – Pick the right height for Art placement
Decide on the height at which you would like your Artwork to be placed.
Once you have sorted your artwork, it’s time to decide on how high you would like your art to be placed.
As a standard guideline followed by galleries and museums, the height at which the artwork needs to be placed is 57″-60″ from the floor, and the center of the canvas should be eye level.
That being said, But by no means it is a hard and fast rule. Because the eye level of one person will be different from the other.
You may want to lower down the range a bit or place it moderately high, depending on the height of the members in your household.
Placing art 57-60” is surely a good way to go, but not a must. I think this is an individual choice.
Moreover hanging pictures slightly lower would be appealing even from a lower viewing angle where you will spend most of your time sitting. For example the dining area or living room.
Step 5 – Start with the Largest Piece
Place the biggest painting in the center.
Once you have sorted and grouped the paintings, choose your biggest painting and place it in the center and check if it fits the area.
And now how would you do that? As a general rule, the art that you place should fill about two-thirds to three-fourths of your available wall space.
For example, If you have a fireplace or a couch, or a bed, measure the width of the furniture and make sure that the art takes only 60%-70% of the total furniture. The same applies to placing the art on a large bare wall too.
Now the advantage of choosing the big painting over the small one is that it will stand out and complement the space.
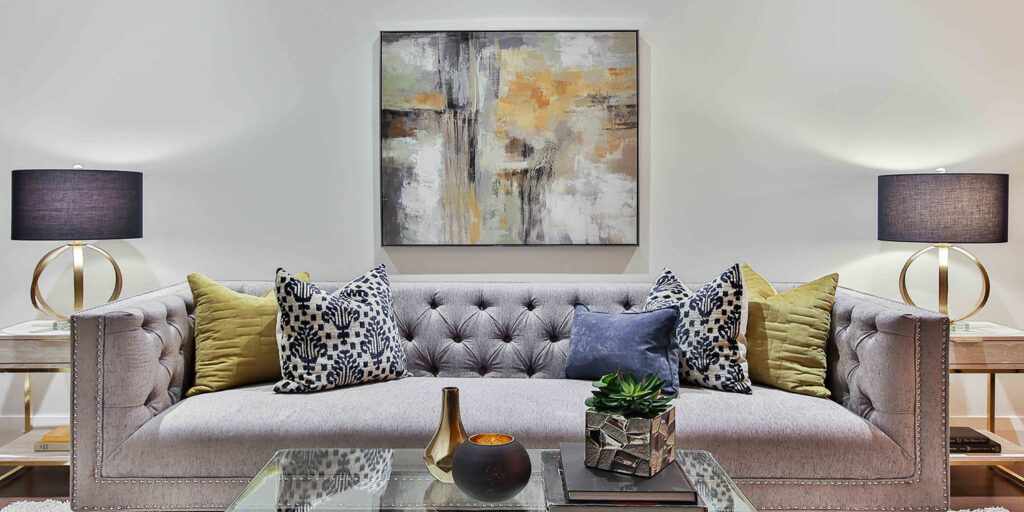
It could also be the focal point of the room. For example, A huge single painting above the fireplace. or above the bed in the bedroom.
Now if you feel the biggest painting you have, looks small on your large wall, the next better option would be to surround the big painting with other smaller artworks to form a cluster.
Step 6 – Go for smaller paintings
If you are intimidated by large paintings, you could go for smaller paintings and group them to give a cohesive look. It could be either by choosing,
- Similar mediums
- Abstract Paintings
- Similar shades of color
- Black and white artwork
- Modern paintings
- Vintage style, etc to name a few…
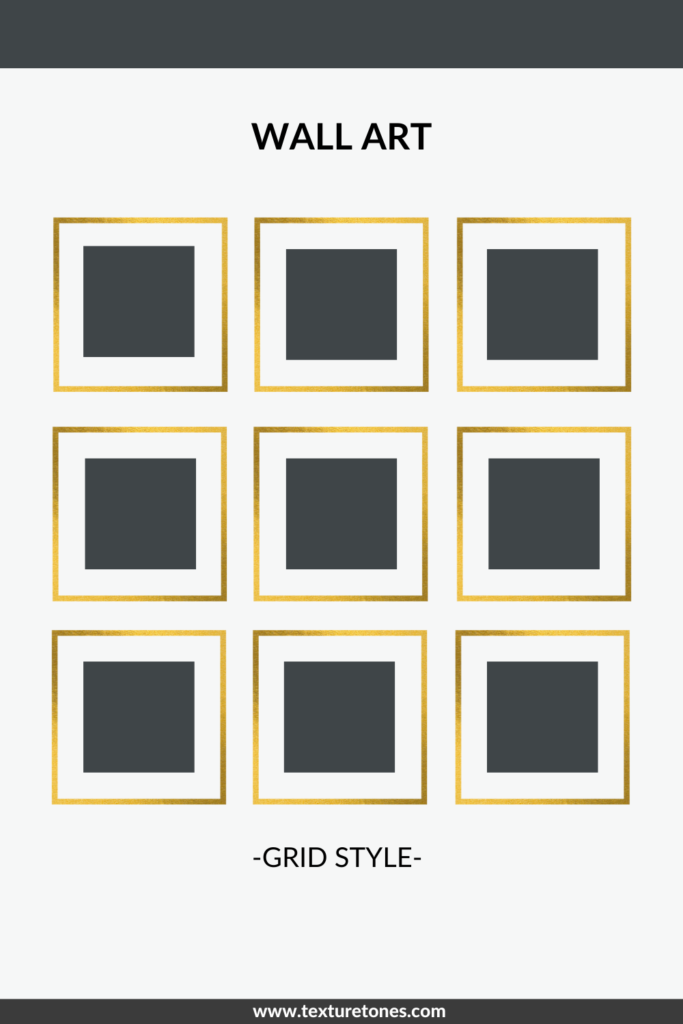
One or two small paintings on a large wall will look out of balance. Hence gather all the small paintings, form them as a cluster and arrange it as a grid or as an eclectic gallery wall.
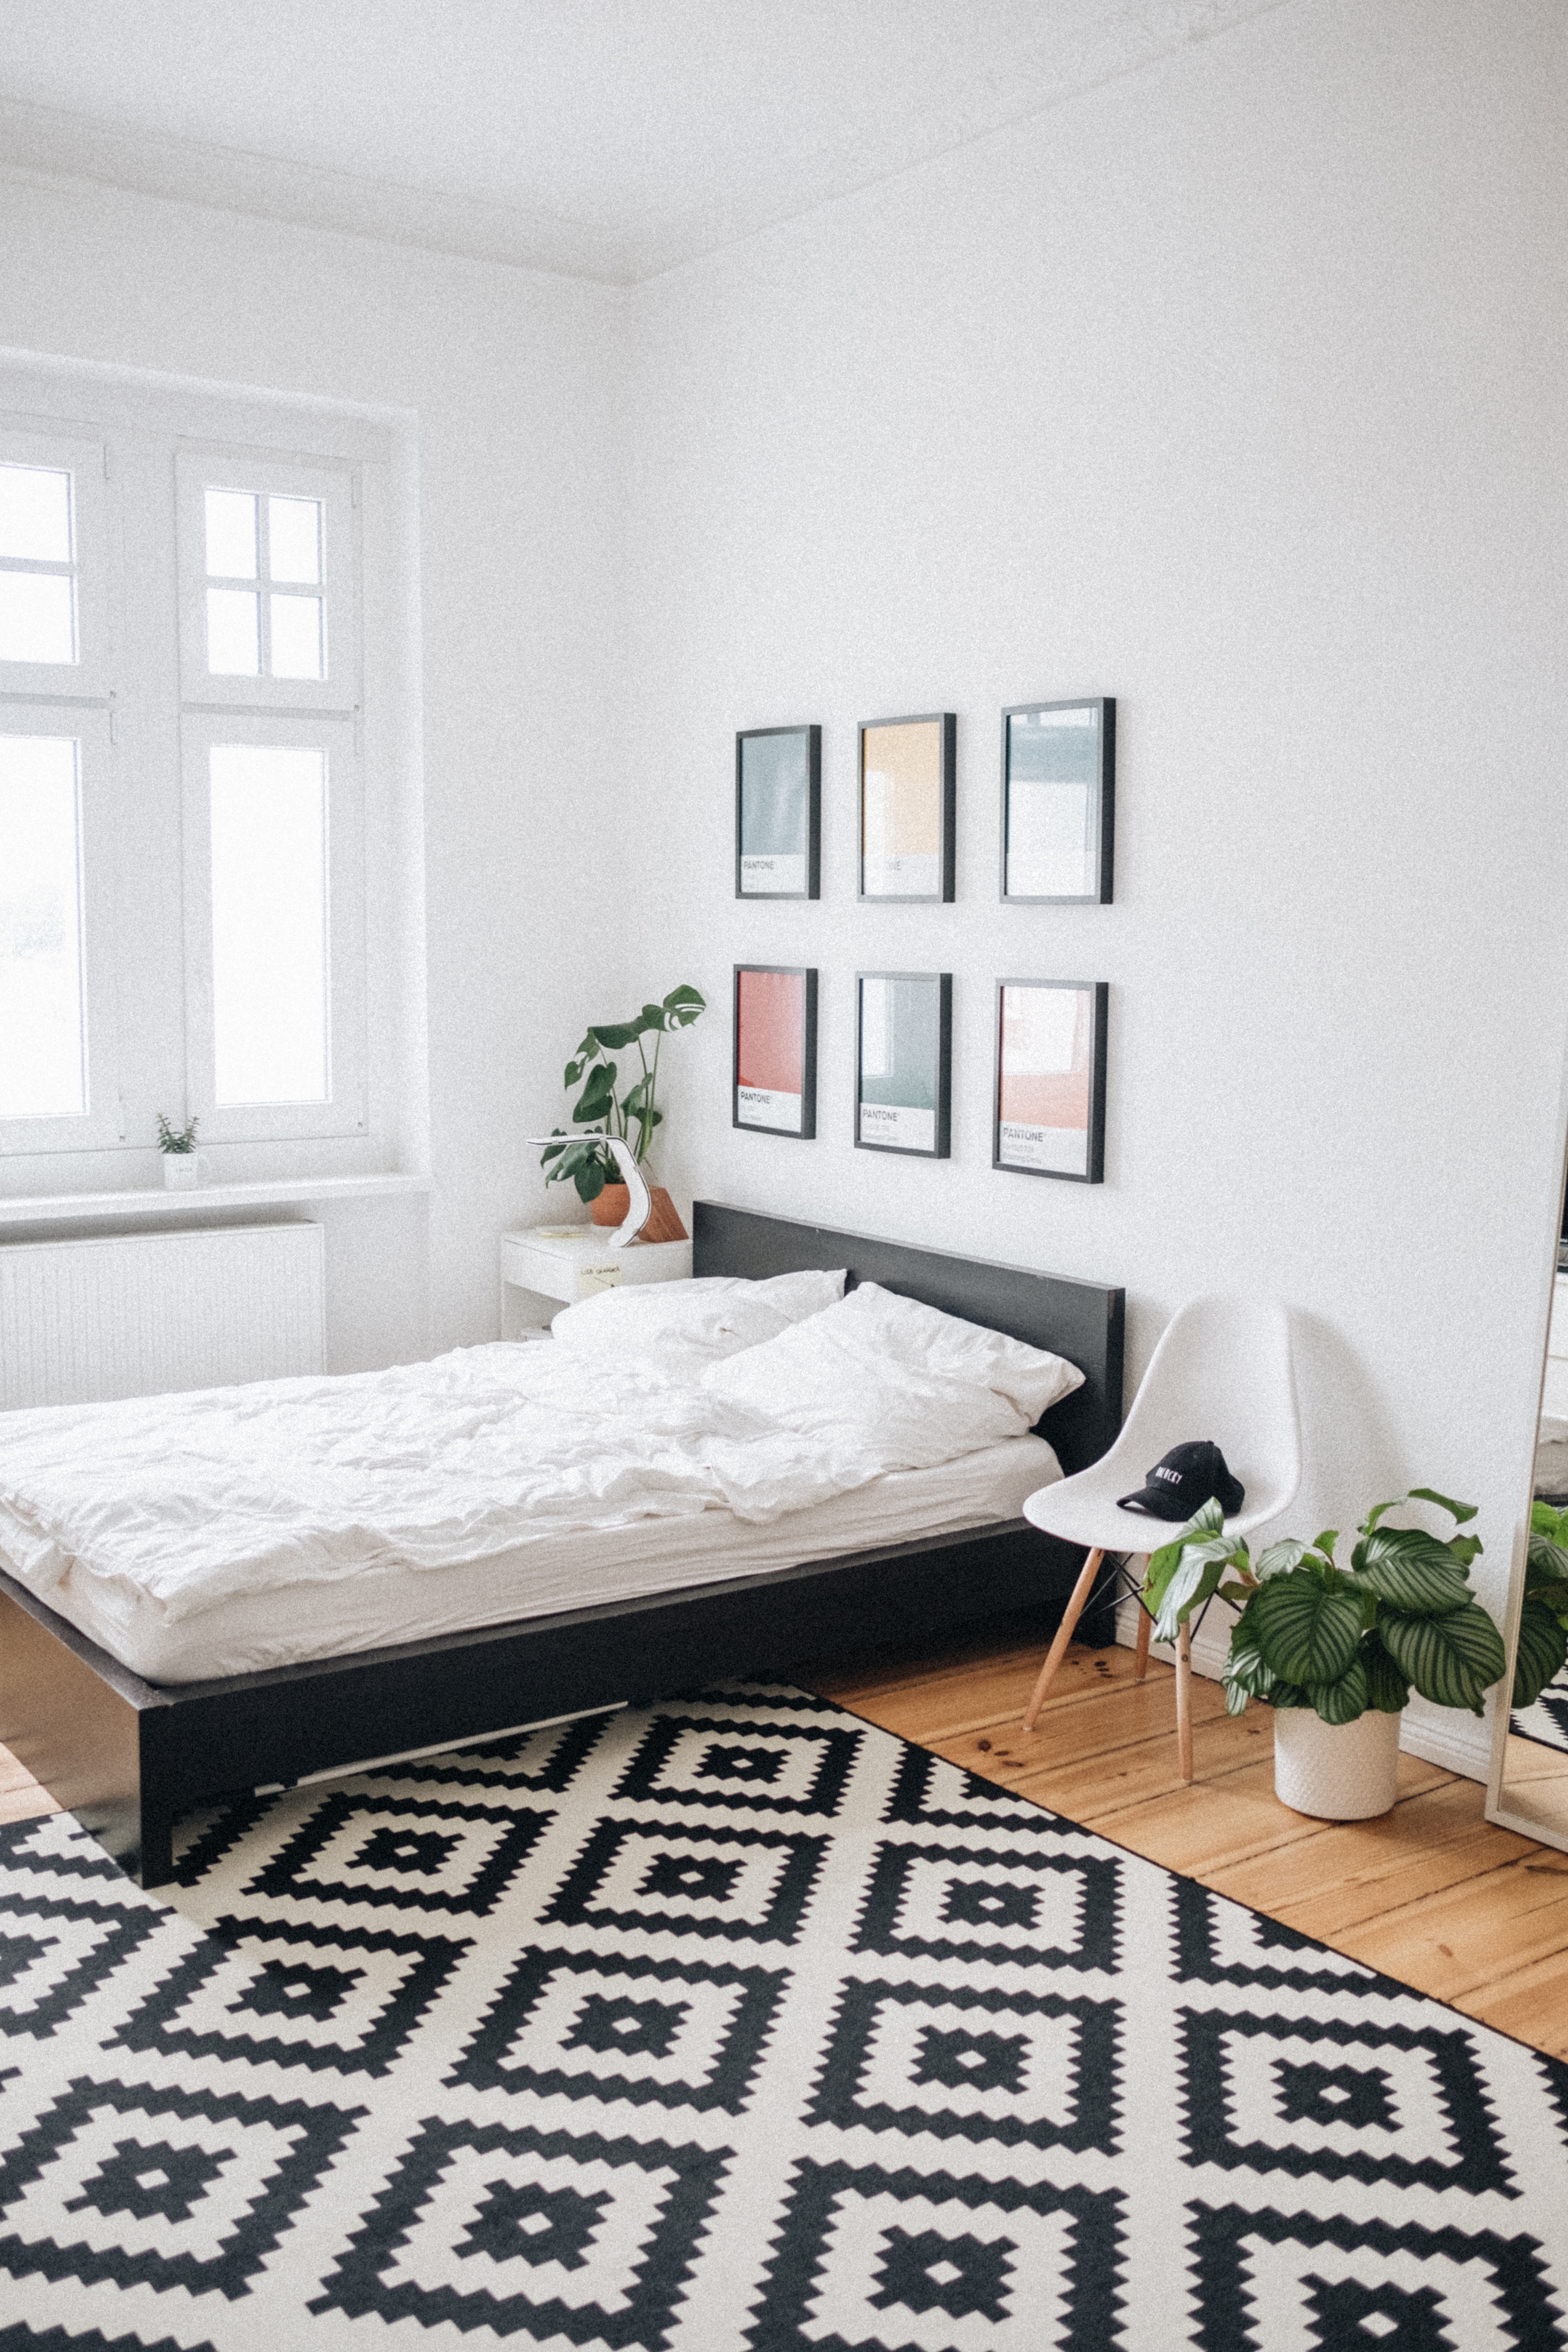
For example. If you have all your paintings of the same size, arrange them in a grid to give a cohesive look.
Grouping your art pieces in a theme will create a visual balance. Focusing on using the same frame also creates homogeny. You may decide what style you would like to go in, based on the personality of the room.
Now what if you have paintings of different sizes and shapes?
If you have small paintings of different sizes, place all the pictures on the floor and play around with different layouts, photograph them and finalize with the one that is the most appealing to you. To do that, you need to find the biggest painting you have and place that as a center painting. Place the remaining artworks around this painting and work around it.
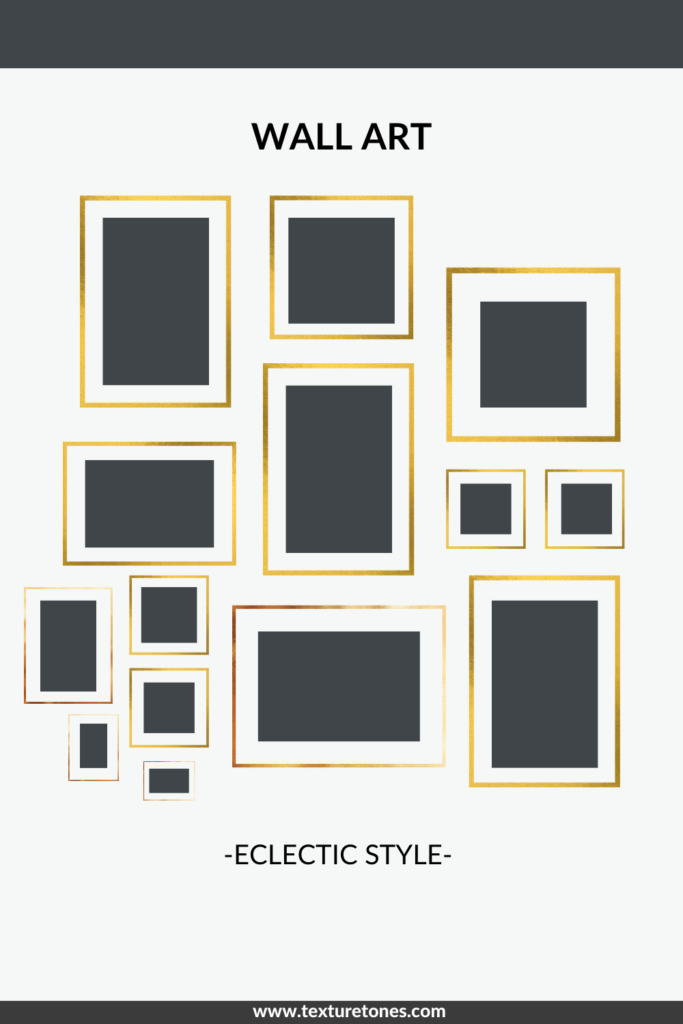
Ideally, it is better to leave a 2″-3″ gap between each painting and keep it consistent throughout grouping. This kind of arrangement is called eclectic style. This style is really beneficial when you have lots of paintings of different sizes. Once you have grouped the paintings, consider this layout as one single painting and the center of the cluster should be at eye level.
Step 7 – Play Around!
Now that you have made your decisions, there’s one more thing you can do before pounding the nails into the wall to avoid unnecessary tension and frustration later.
- Take a large piece of Kraft paper or Newspaper. Trace the artworks with frames on this sheet.
- Place the artwork on top of the paper and trace the shape on the Kraft paper.
- Cut out the different sizes of artworks traced and mark the hanging points from the back of the art onto the craft paper.(this guide will help you when you are hammering the nails on the wall later)
- Layout everything on the floor as per the photograph you had taken earlier.
- Using tape, stick these pieces to the wall in the desired arrangement with a space between the artworks.
- Use a tape measure to get the spacing right and a level to make sure the paper pieces are aligned. Then tape the paper to the wall and hammer in the nails.
- Once it is nailed you can remove the kraft paper and hang your art!
That’s it! We have covered the basics and there’s a whole lot more that goes into the wall art decor, but this should be enough to get you started!
Download your free PDF- “How to hang art on your wall- 7 simple steps” that will make your process perfect and effortless.

Additional Reading: