This page contains affiliate links. Meaning, I get a small commission if you purchase through my links, at no extra charge to you. Read the full disclosure here
If you are completely new to oil painting, buying supplies can feel more confusing than the painting itself.
There are so many paints, brushes, mediums, solvents, palettes and easels to choose from that it is easy to think you need everything before you can even begin.
You really don’t.
When I first started painting in oils, I learned that it is much better to begin with a simple set of reliable materials, get comfortable with them, and add more supplies as your technique develops.
This guide covers the basic oil painting supplies I would start with as a beginner, along with a few practical tips from my own experience.
(Please note these are affiliate links, and if you choose to make a purchase through them, I may earn a small commission—at no extra cost to you. Thank you for your support!)
Oil Paints
You do not need a huge collection of colours to start oil painting.
A small palette is actually easier to learn with because it teaches you how colours mix together instead of relying on dozens of ready-made shades.
When I started, I used Winsor and Newton oils. Their Winton range is made as a more affordable oil colour and is commonly positioned for beginners and artists who need larger quantities of paint.
You can either buy a starter set or choose a few individual tubes. I would avoid telling beginners they need Cadmium Yellow or several expensive pigments immediately. Starting small keeps the cost down and makes colour mixing much easier to understand.
A simple beginner palette could include:
- Titanium White
- Ultramarine Blue
- a warm red
- a cool or warm yellow
- Burnt Umber
Buy Winsor and Newton oil paints here
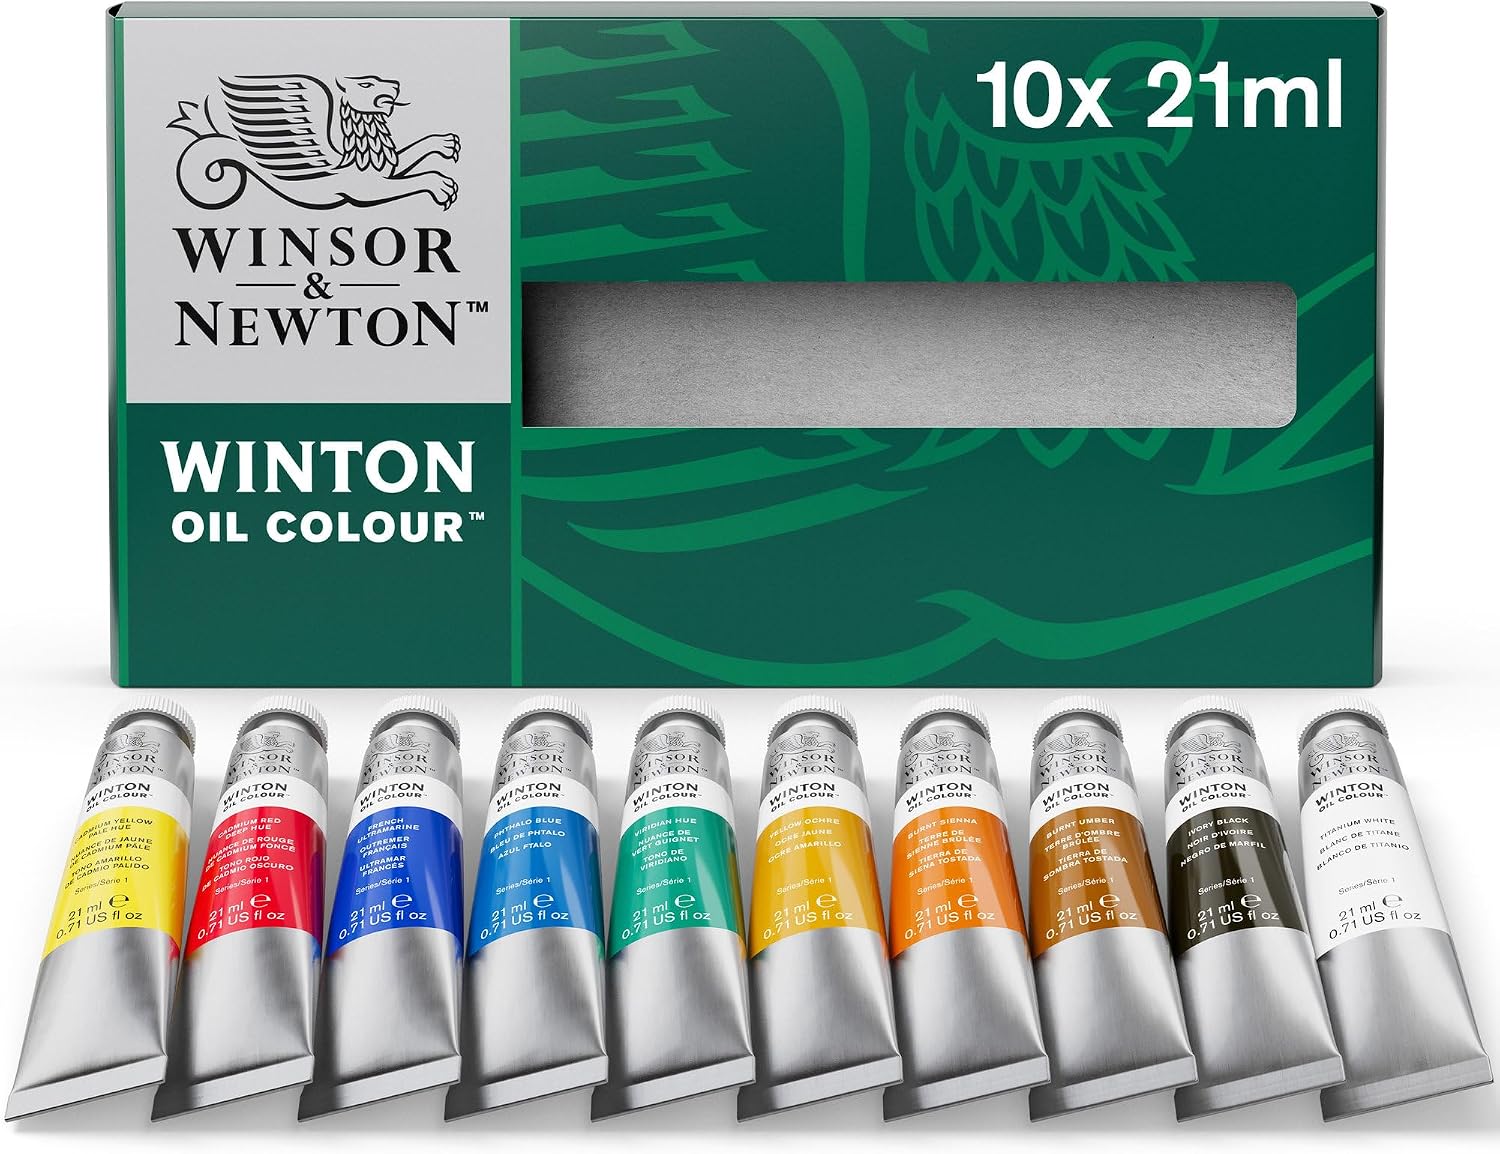
It will also be a great idea to start with a starter kit. In that case, you will have all the necessary colors in one box.
Brushes
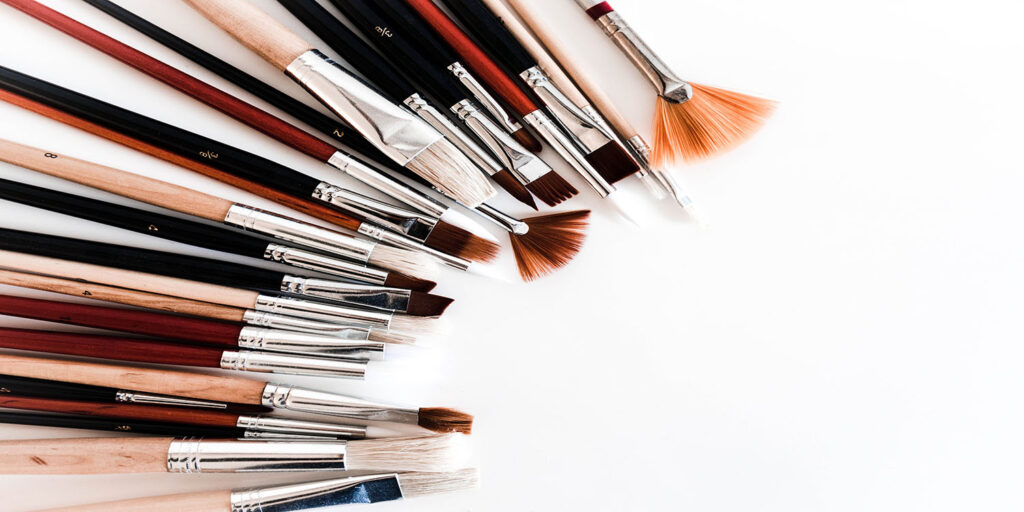
You do not need a huge collection of brushes when you first start oil painting, but having a few different shapes and sizes is helpful because each one gives you a different kind of mark.
A beginner set can be a practical way to start because it usually gives you a mix of flats, filberts, rounds and smaller detail brushes. It also gives you a chance to experiment and see which shapes you naturally prefer before buying individual brushes later.
For oil painting, both hog-bristle and synthetic brushes can work well. Stiffer brushes are useful for textured strokes and moving thicker paint around, while softer brushes can give you a smoother finish.
The set I’ve linked below includes a variety of brush shapes and sizes, which makes it a useful option if you are still figuring out which brushes suit your painting style.
To learn more about the different types of oil painting brushes and how to choose the right one, check out “The Ultimate Guide to Choosing the Perfect Oil Painting Brushes”
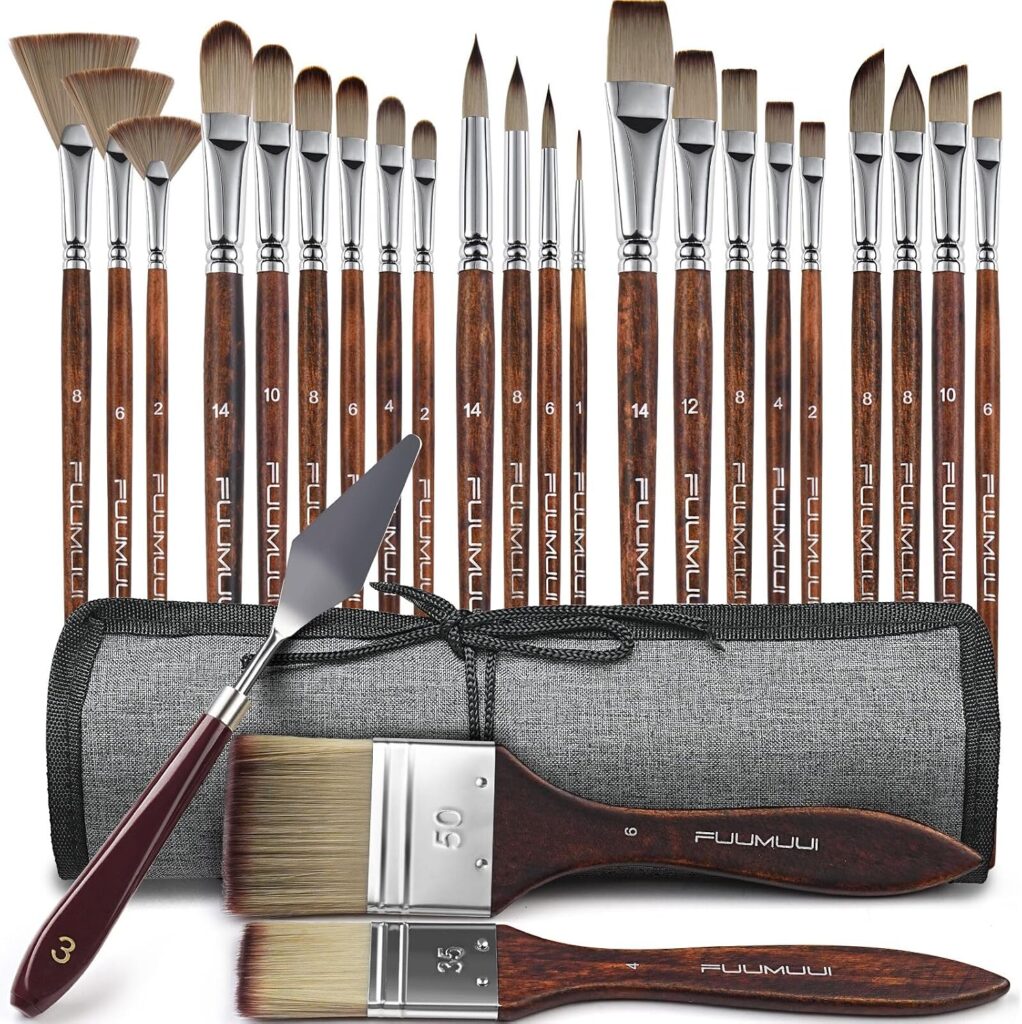
Oil Painting Brush Set for Beginners
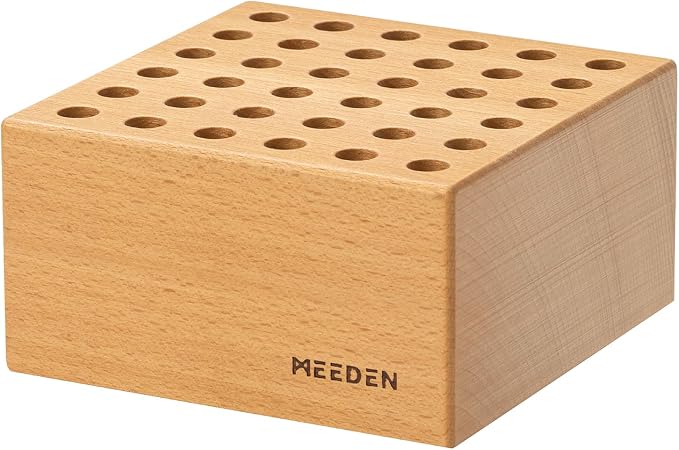
Paint Brush Holder
A brush holder is useful, but I would not call it a “must.”
It is simply a convenient way to keep your workspace organised.
Before I start painting, I like to keep the brushes and tools I expect to use within easy reach. It saves me from constantly stopping to look for a brush, pencil or palette knife.
You can use a purpose-made brush holder, a jar or any sturdy container that works for your space.
Solvent or Mineral Spirits
Traditional oil painting solvents are used for cleaning brushes and, in small amounts, for thinning paint. Always use them in a well-ventilated space and follow the manufacturer’s instructions.
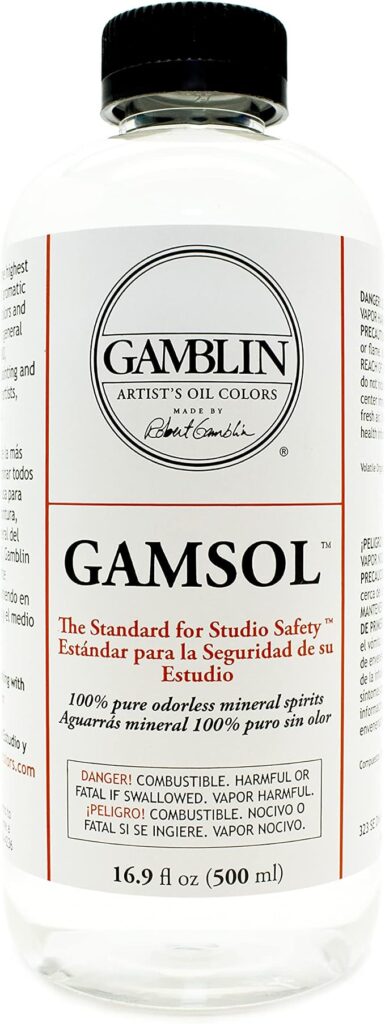
I personally prefer Gamsol Odorless Mineral Spirits to traditional turpentine because the smell is much less noticeable. It can be used for thinning oil paint and cleaning brushes, although it is still a solvent and should be handled carefully.
You can also paint without solvent at all. Solvent-free mediums and water-mixable oils are worth considering, especially if you work in a small home studio.
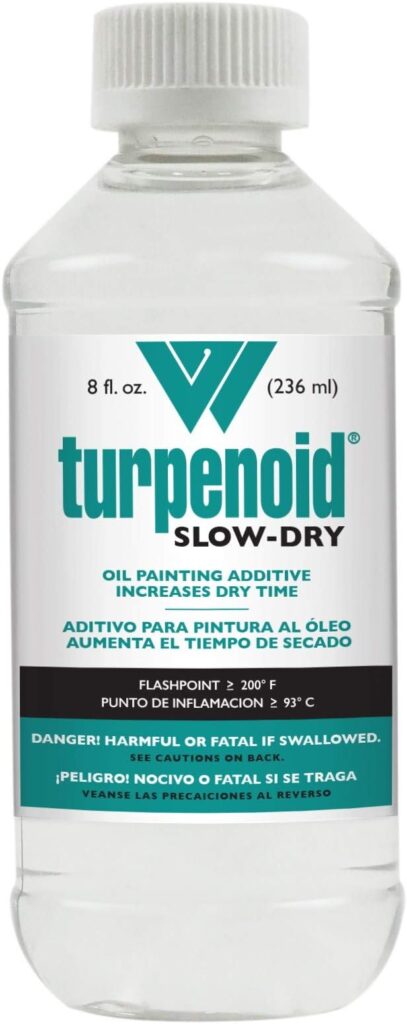
If you do want to use a solvent, the two options below behave a little differently:
Turpenoid Slow-Dry evaporates more slowly, so it can be useful when you want a longer working time.
Gamblin Gamsol is an artist-grade odorless mineral spirit that is widely used for thinning oil colour and cleaning brushes.
Both should be used carefully and with good ventilation.
If you are new to oil painting, I would choose one based on how you work rather than buying both.
If you prefer traditional turpentine, you can also find it at art supply stores and some home improvement stores. Just check the label carefully and make sure the product is suitable for the way you plan to use it.
A Container for Cleaning Brushes
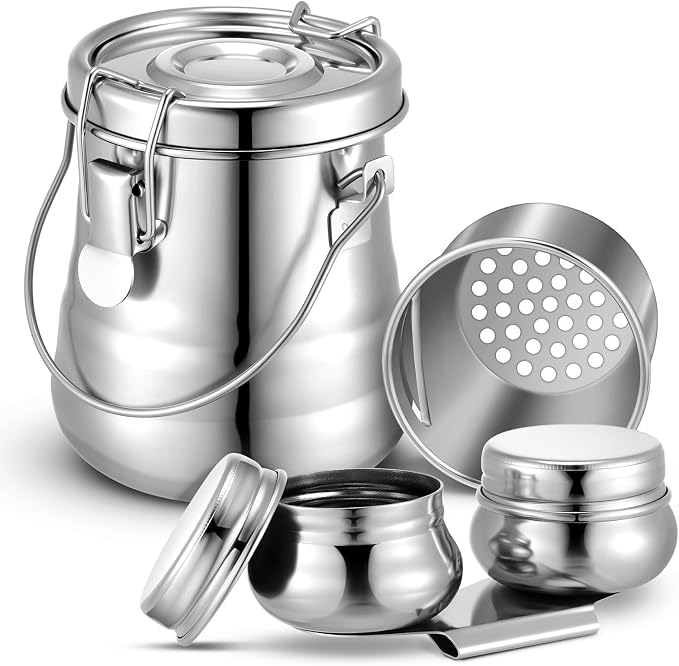
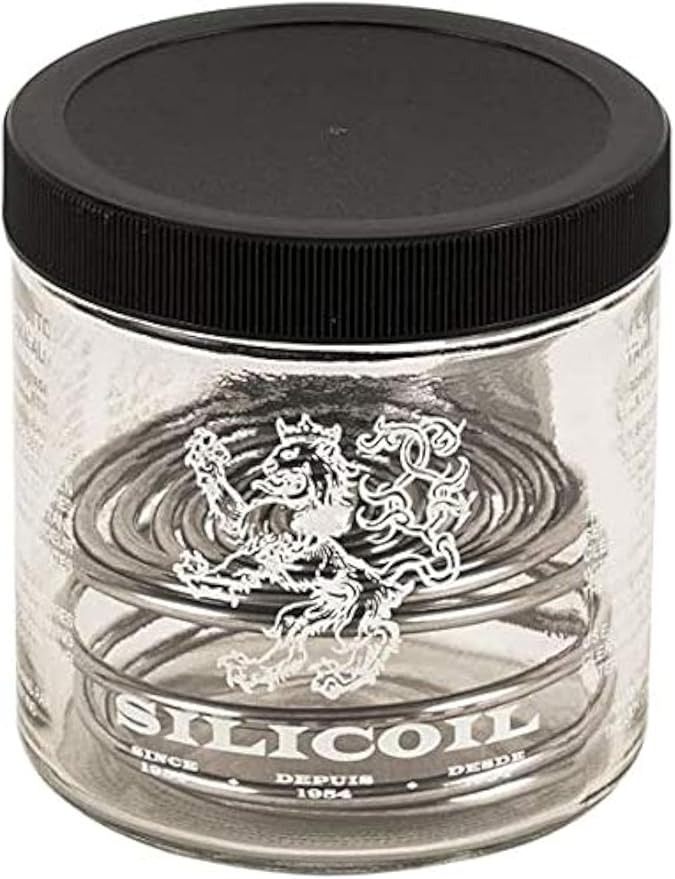
A proper container makes cleaning oil painting brushes much easier and helps keep your workspace organised.
I prefer using a jar or container with a secure lid because it helps reduce spills and keeps the solvent covered when I am not using it. Some brush-cleaning containers also have a coil or screen inside, which makes it easier to loosen paint from the bristles.
If you are using a simple jar, make sure it is clearly labelled and kept away from food, drinks, children and pets.
Here are the few options you might want to consider purchasing:
Linseed oil
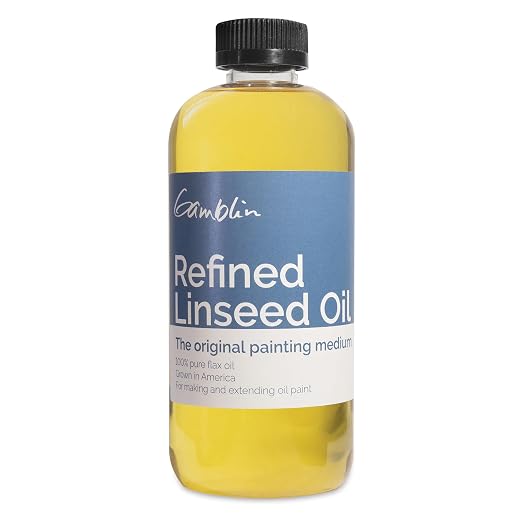
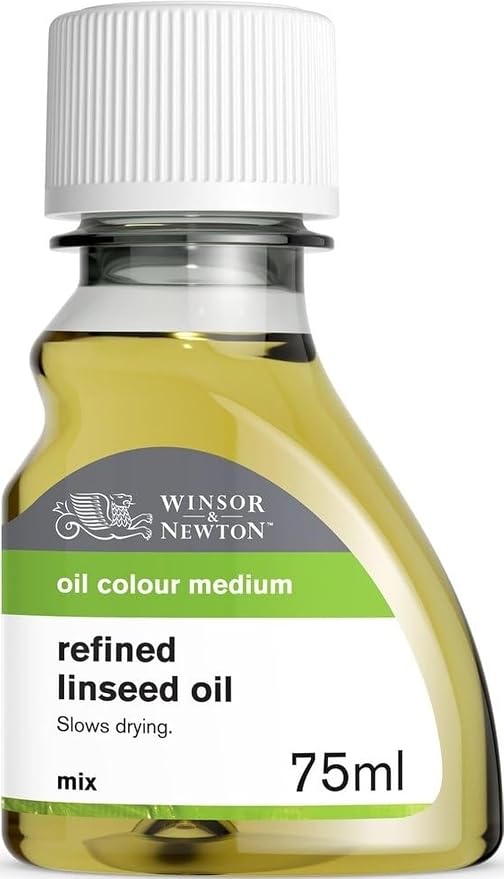
Linseed oil is one of the most commonly used mediums in oil painting. It can make the paint flow more smoothly and can also increase transparency and gloss.
You only need a small amount. Adding too much can make the paint overly oily and affect how it dries.
I sometimes paint straight from the tube and sometimes use a little linseed oil, depending on the effect I want and how the paint feels on the canvas.
Palette
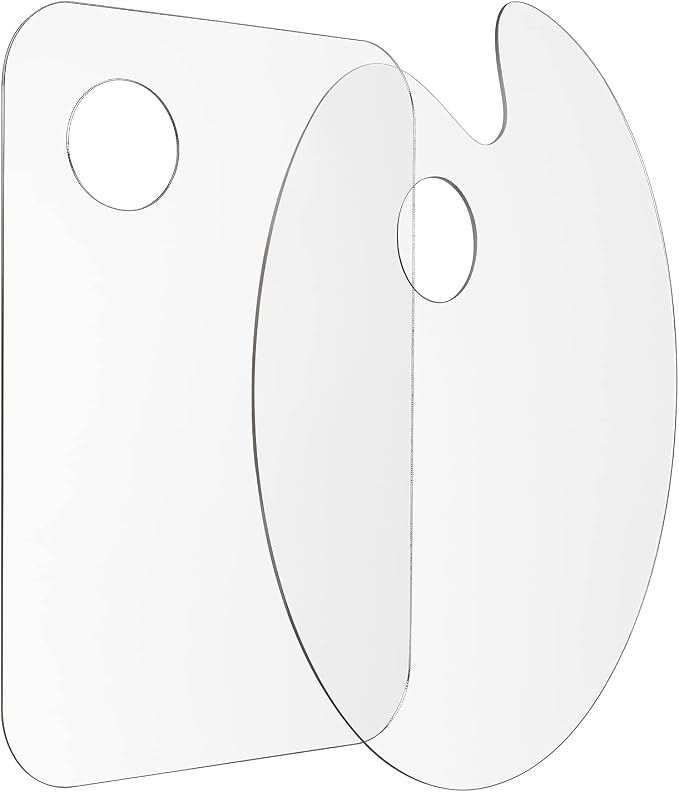
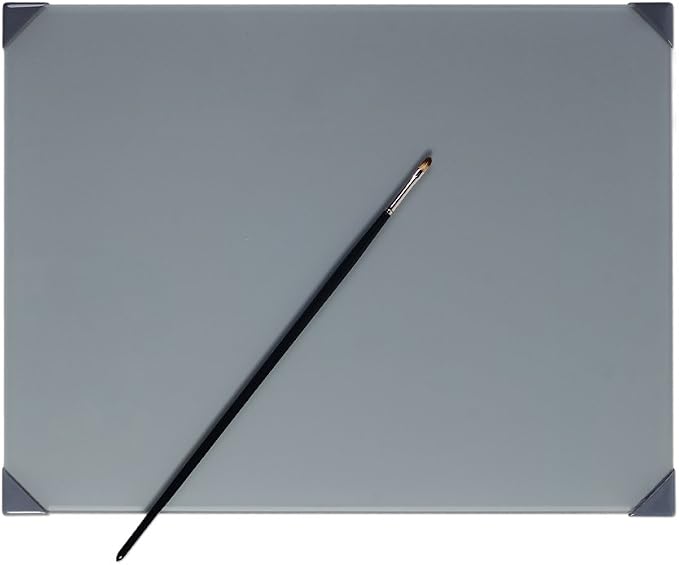
You do not need an expensive palette when you are starting out.
What matters most is having enough space to mix your colours comfortably. Glass, ceramic and other smooth, non-absorbent surfaces can all work well.
I prefer using a larger palette because it gives me enough room to mix colours without everything becoming crowded.
Easel
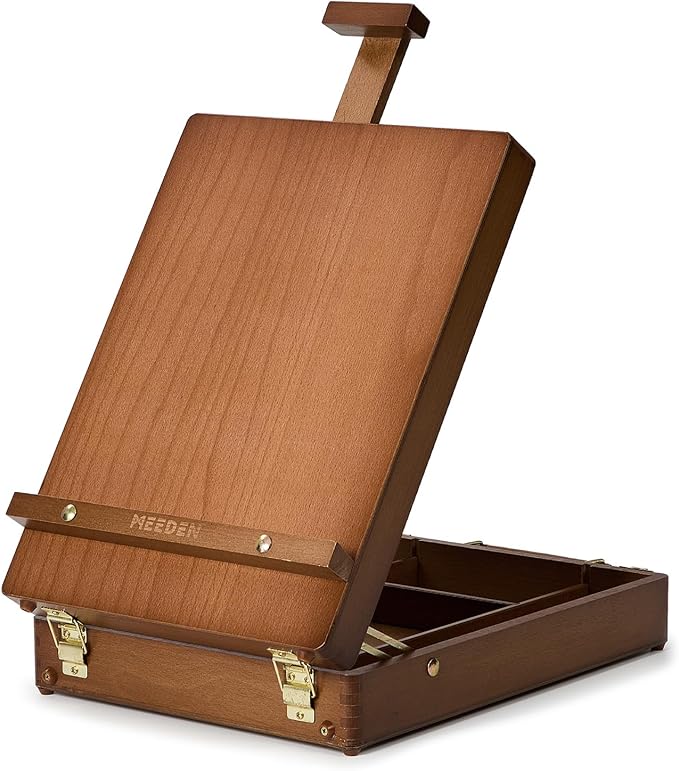
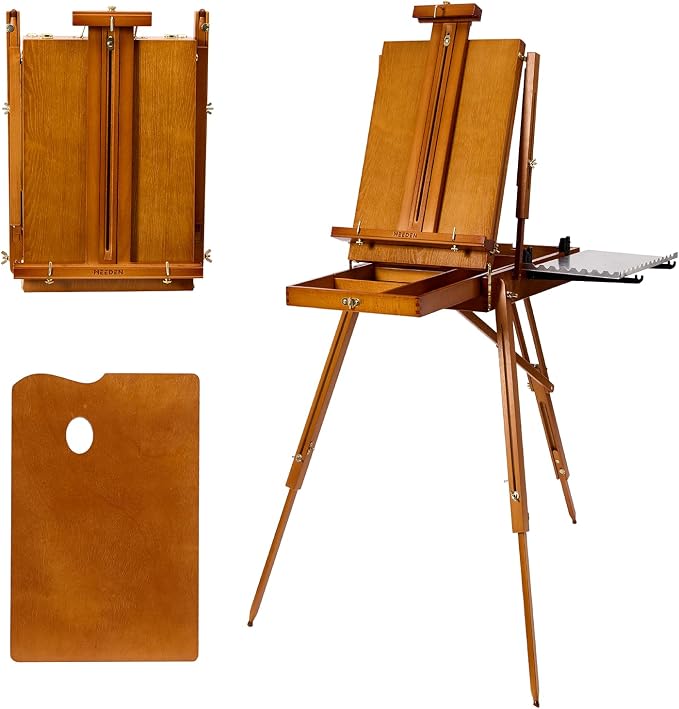
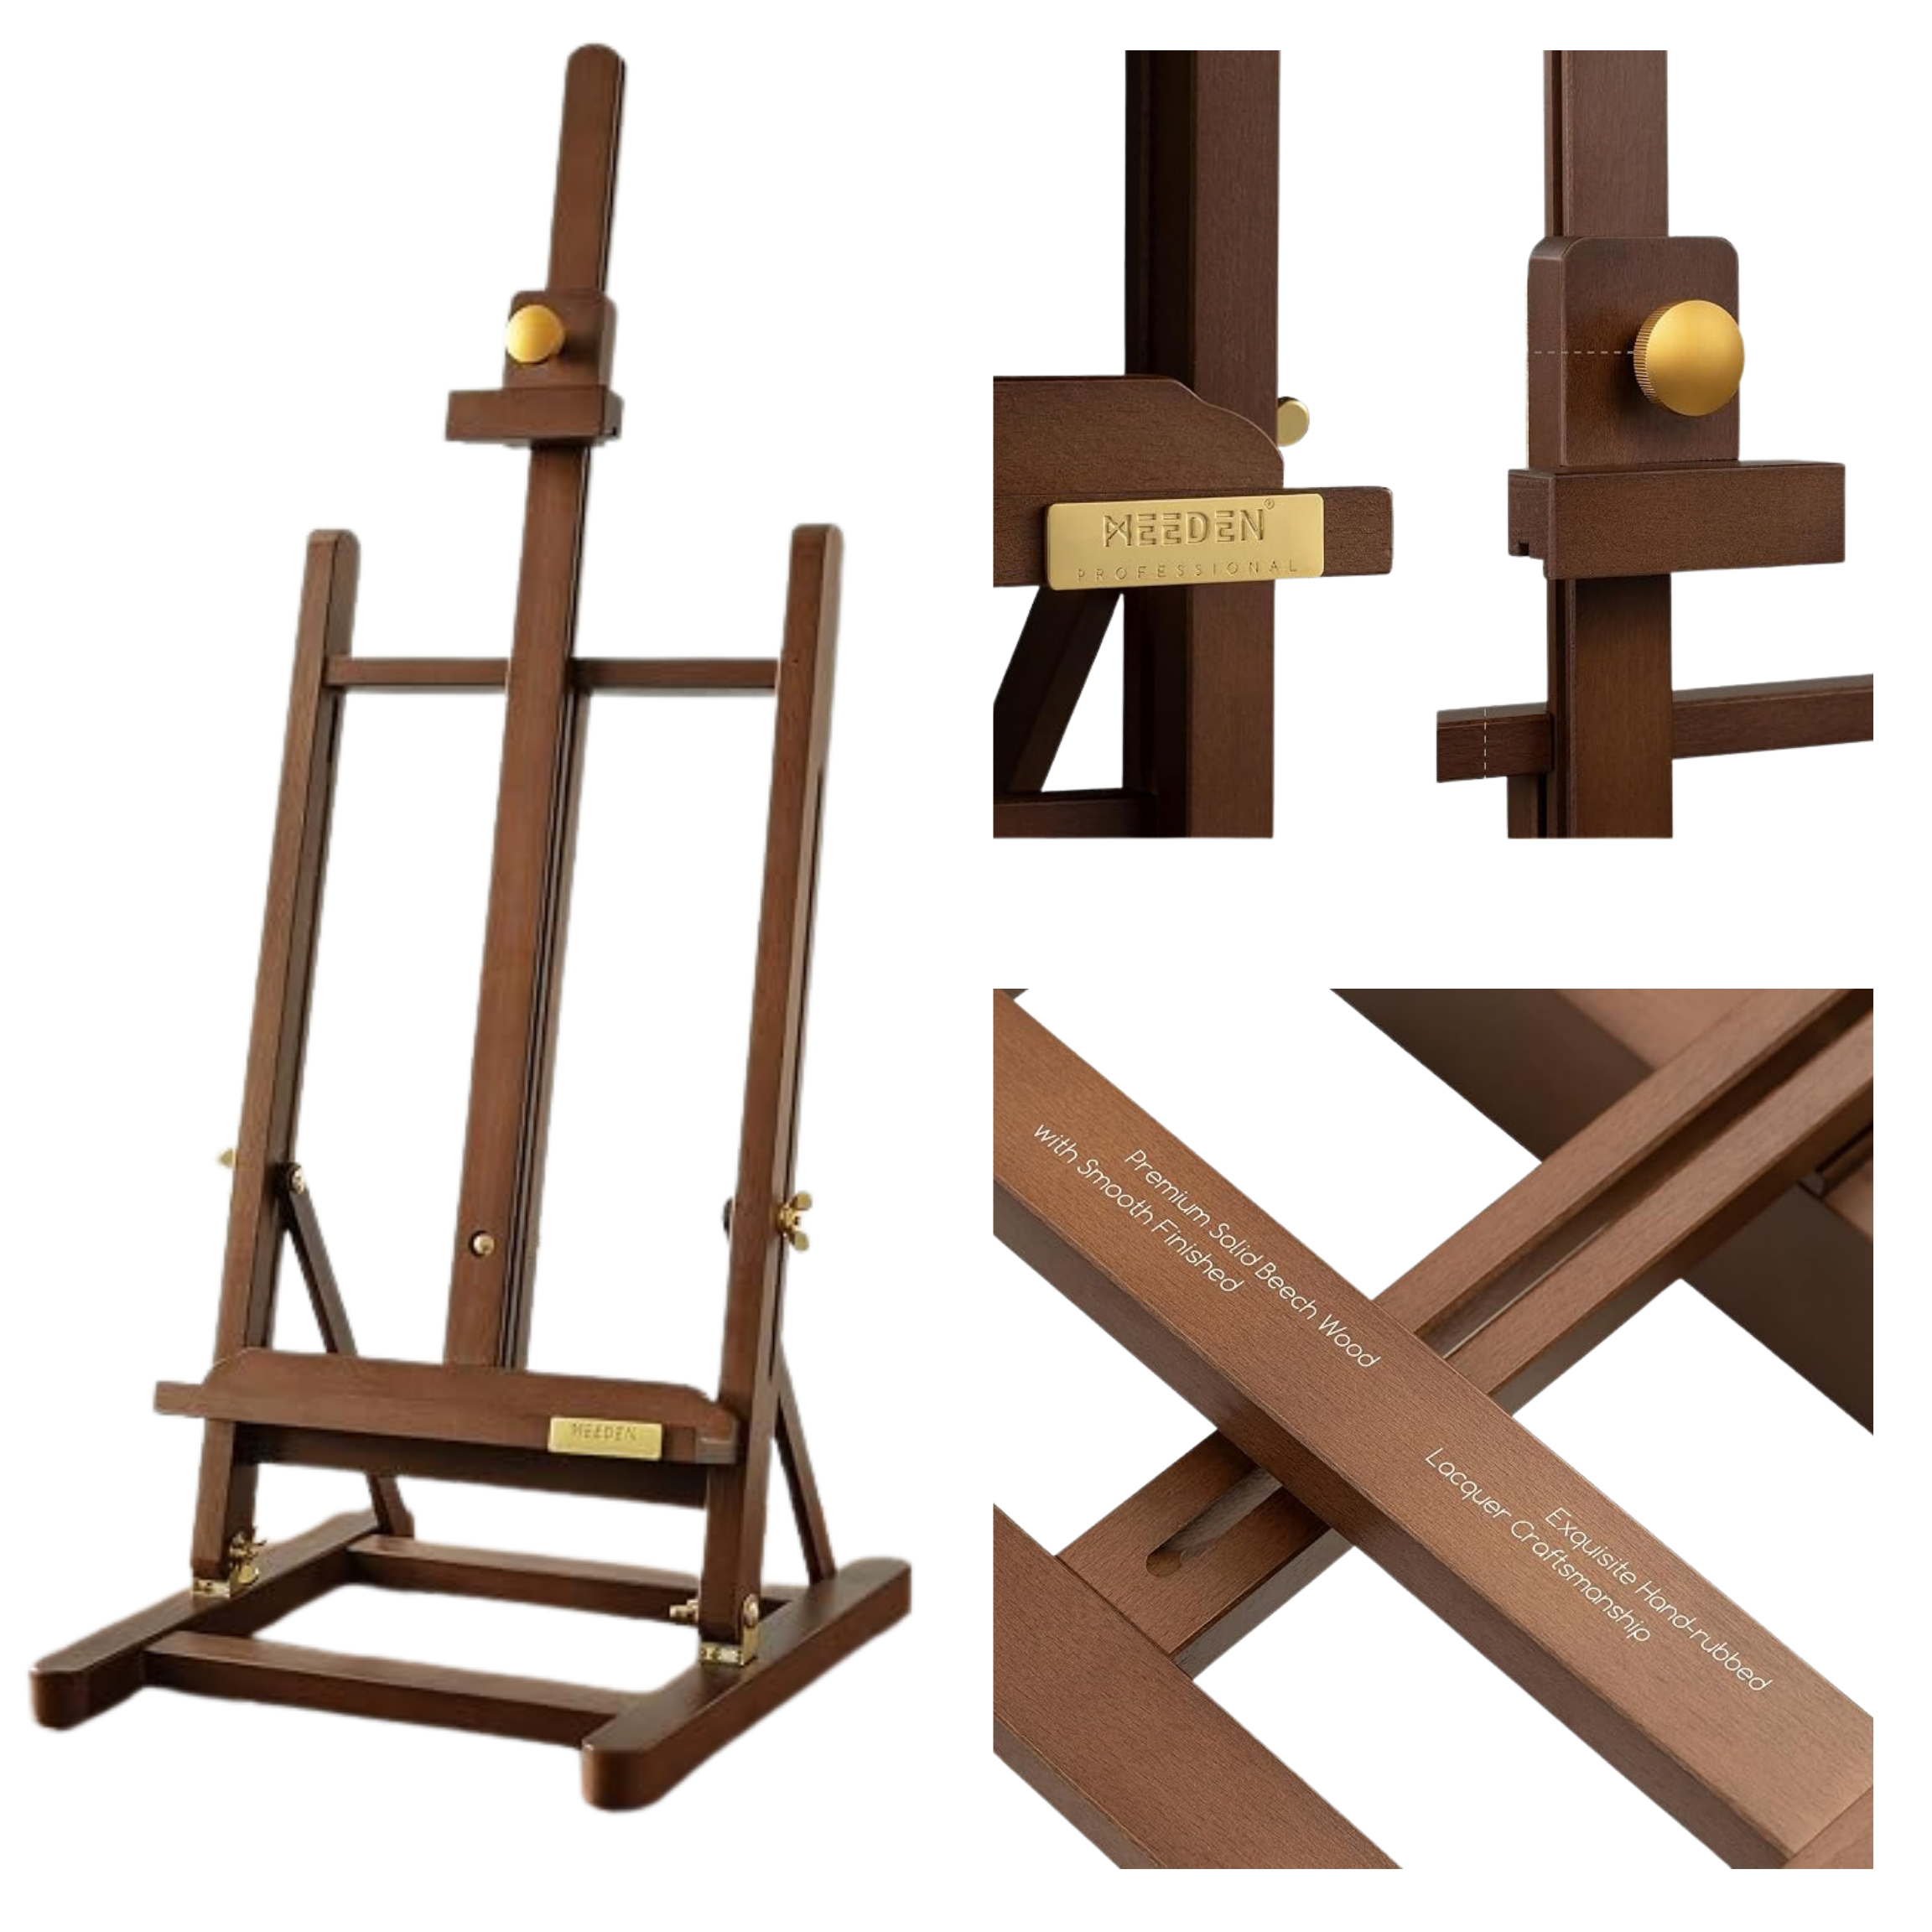
An easel is not absolutely necessary, but I find it much easier to paint when the canvas is properly supported.
When I first started, I used a very inexpensive easel, but it moved too much whenever I applied pressure to the canvas. That became frustrating very quickly.
I later bought a tabletop easel, and it has lasted me for years. A tabletop easel is a practical choice if you have limited space or usually work on small to medium-sized canvases.
For larger paintings, I now use a sturdier H-frame easel because it gives me better support and stability.
Canvas
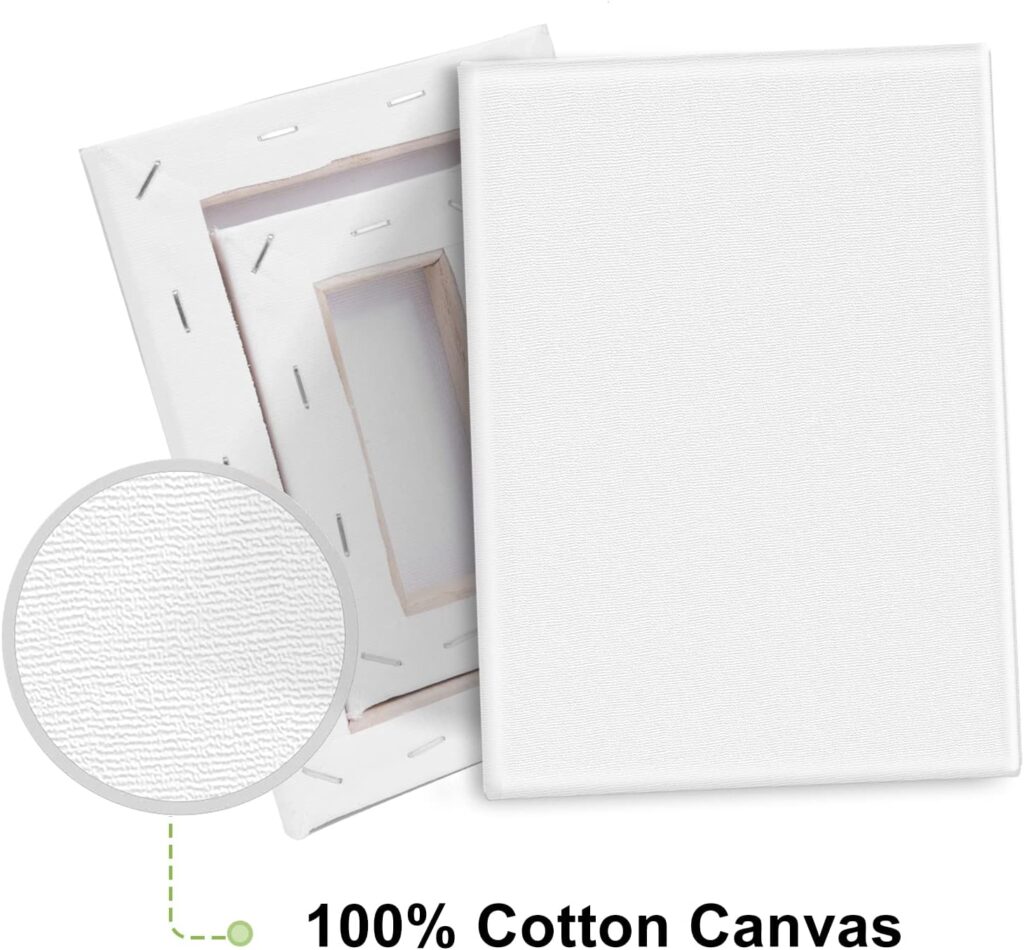
If you are just beginning, you do not need to spend a lot on expensive canvas.
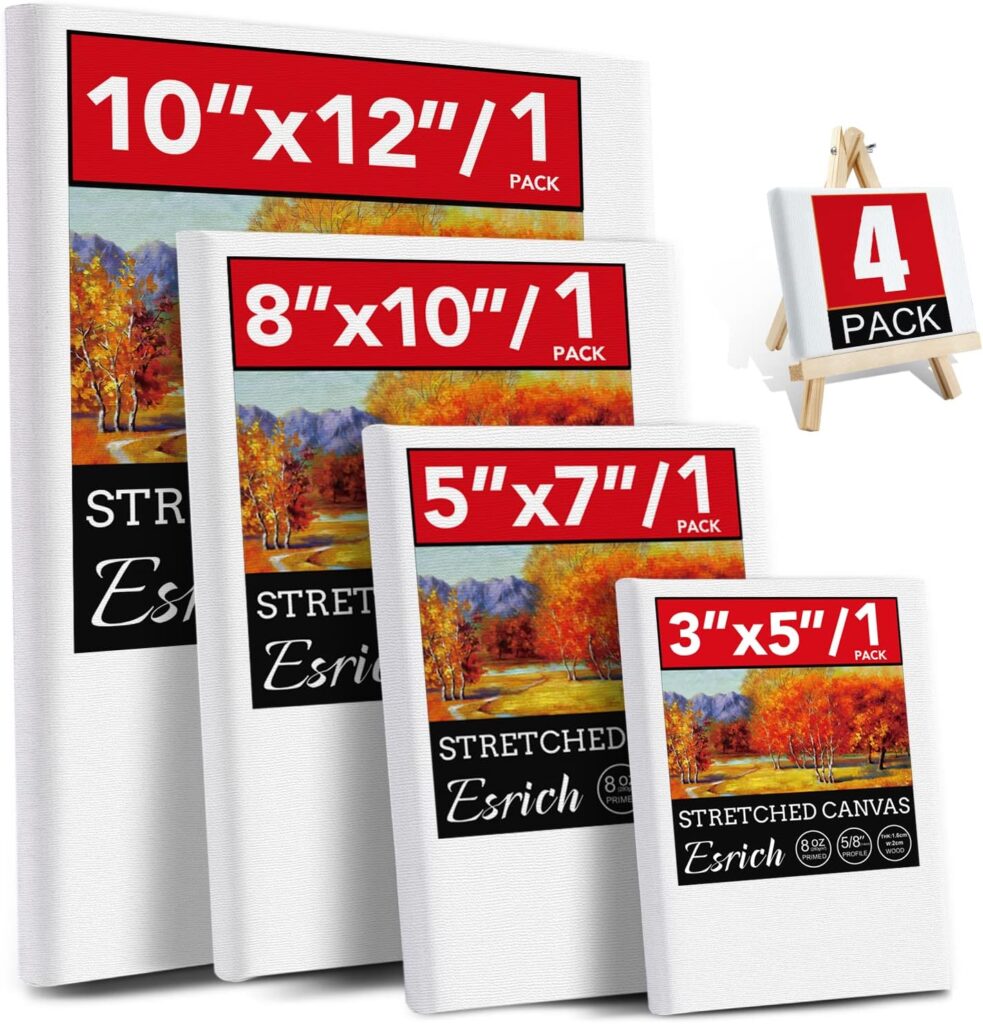
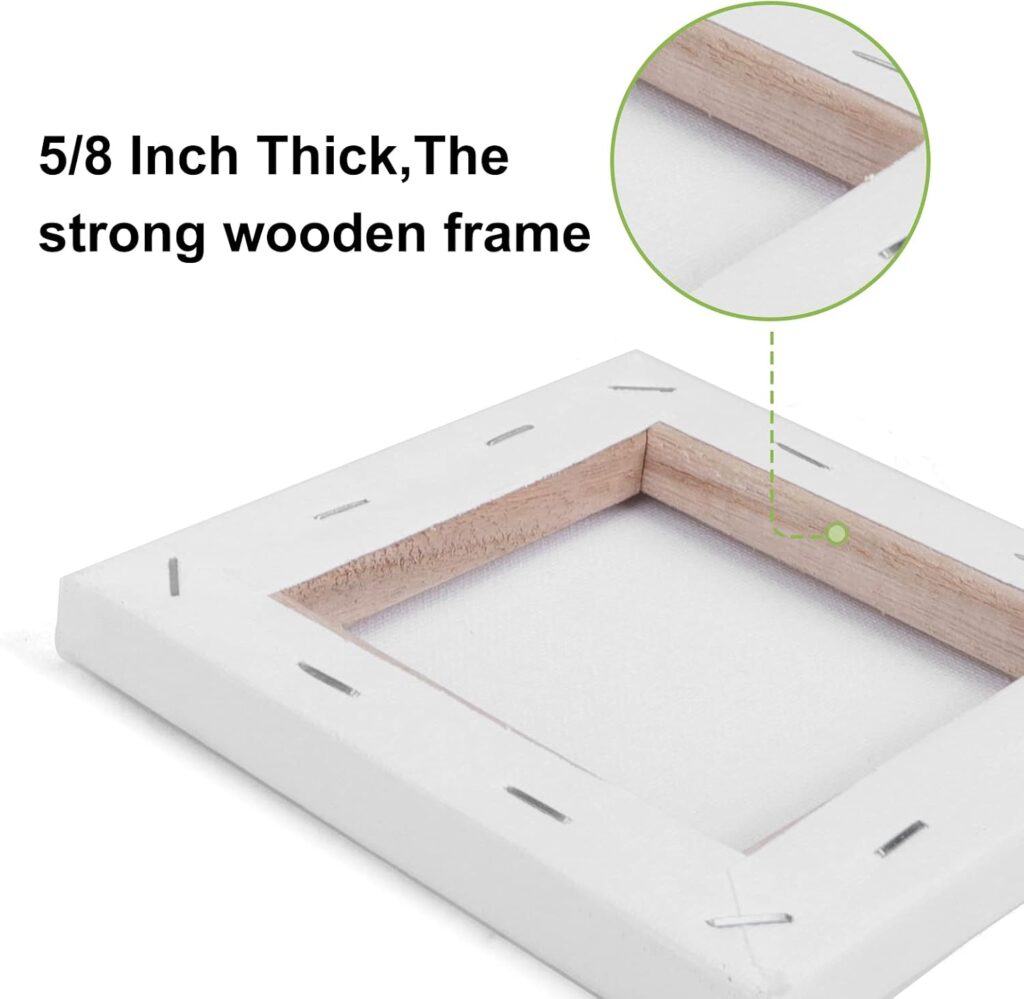
Pre-primed cotton canvas or canvas panels are perfectly fine for practising and learning how oil paint behaves.
I would start with small or medium sizes because they are easier to manage and allow you to experiment without feeling that every painting has to become a finished masterpiece.
Canvas comes in many shapes and sizes. If you want to learn more about choosing the right one, I have written a full guide that you can read here.
(Please note these are affiliate links, and if you choose to make a purchase through them, I may earn a small commission—at no extra cost to you which helps support this site. Thank you for your support!)
Other Accessories
Here are some other accessories which you may find useful in an oil painting:
Paper Towels or Cloth
Keep paper towels or a reusable studio cloth nearby while you paint.
They are useful for wiping excess paint from brushes, cleaning small spills and keeping your hands and work area tidy.
If you use cloths or rags with oil or solvent on them, store and dispose of them safely rather than leaving them crumpled together.
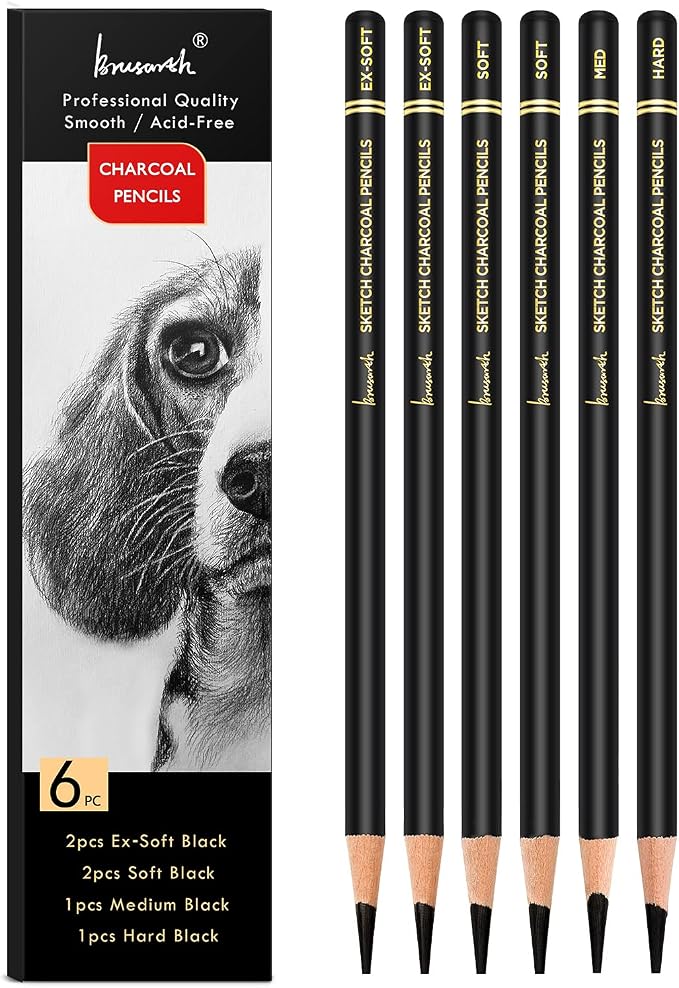
A charcoal pencil
A charcoal pencil is useful for lightly sketching your composition before you begin painting.
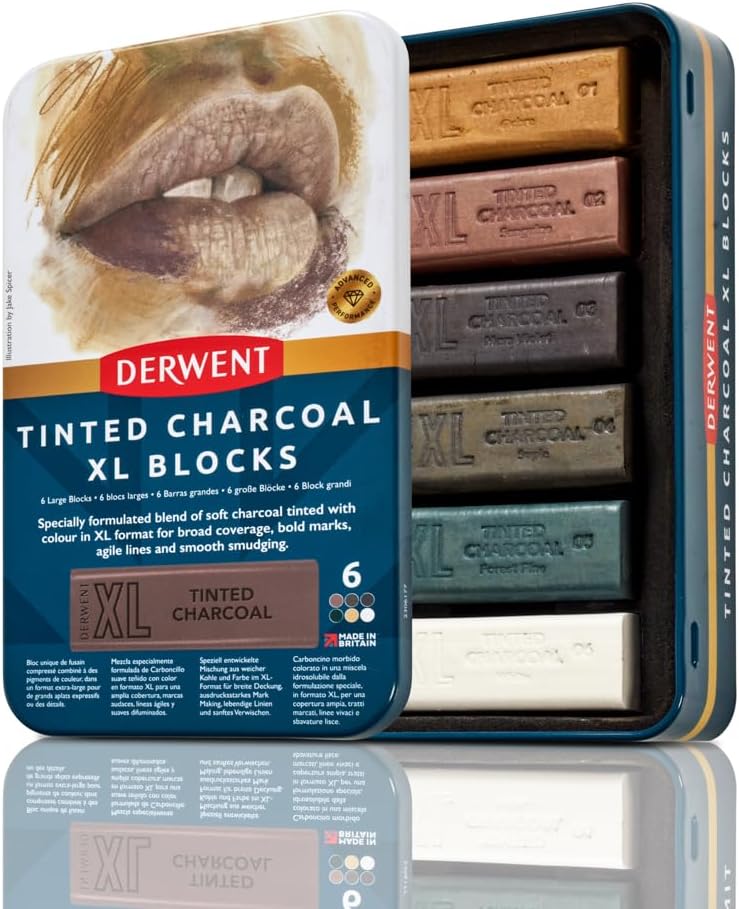
I prefer charcoal pencils when I want more control because they are easy to sharpen and useful for smaller details. Charcoal blocks are better when I want broader marks, softer shading or to cover larger areas more quickly.
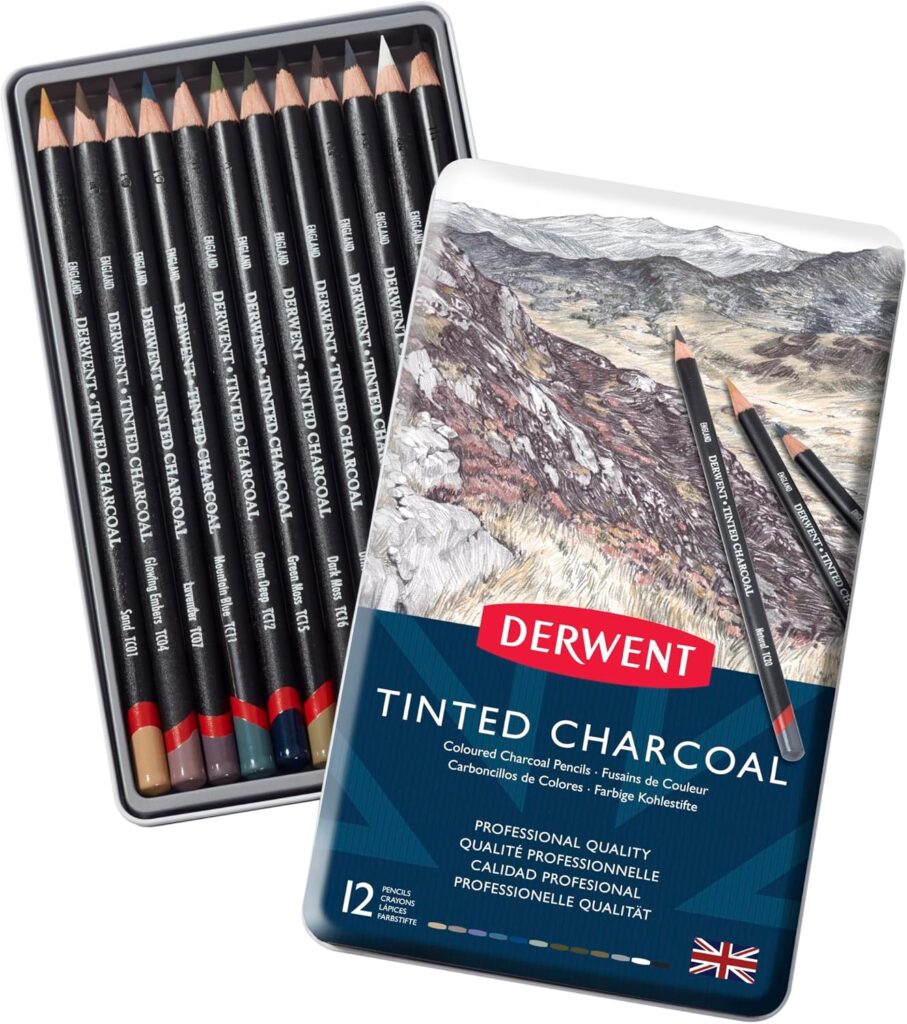
If you like experimenting with different tones, tinted charcoal can also be useful for creating softer, more expressive underdrawings before you start painting.
Comfortable old clothes or Aprons
Oil paint can be difficult to remove from fabric, so wear something you do not mind getting stained.
An apron is an easy way to protect your clothes and keeps studio mess a little more manageable.
Gloves
Gloves are optional, and some artists prefer not to use them while painting.
If you do use gloves, nitrile gloves are a practical option when working with solvents, pigments or during cleanup.
Whether you wear gloves or not, avoid unnecessary skin contact with paint and solvents and wash your hands thoroughly after painting.
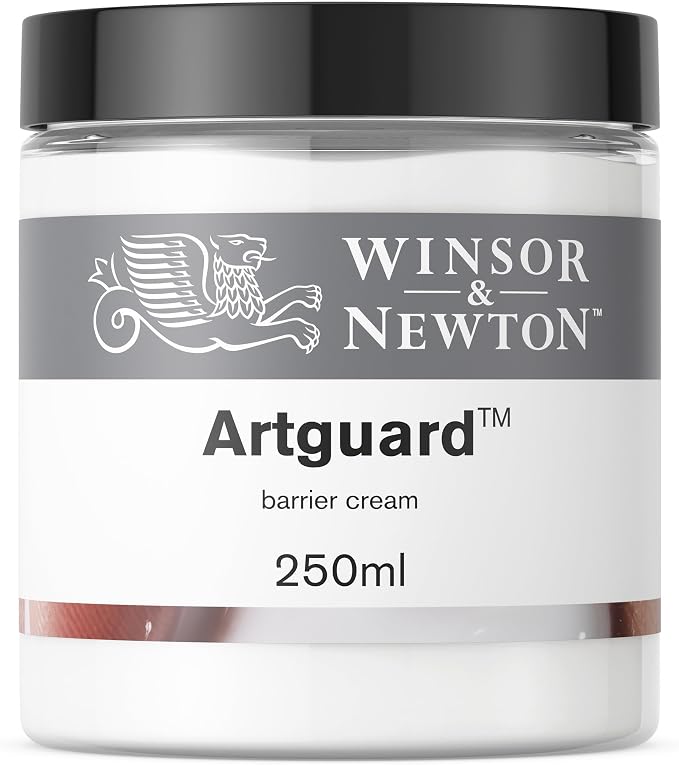
Winsor and Newton have got a barrier cream for artists’ safety.
Again it’s a personal choice, I have worked with oils and I find it a little difficult to paint with gloves. I need to feel my paintbrush against my skin and blend the paints on my canvas using my fingers. Yes, it is a total mess afterward… But that’s alright with me. I use gloves only when I want to clean up my paintbrushes.
Final Point- How do you store the excess paints on your palette?
Alright! Now that you have completed your painting for the day, what do you do with the remaining paint in your palette?. Freeze. it! yes… you heard that right. Keep it in the freezer. You could wrap it up with plastic wrap by covering the palette tight, firmly pressing, and excluding all air. Make sure to remove the plastic immediately as you take out the palette the next day for your painting. Because if you keep it for long, the thawed paints will stick onto the plastic, and it can be quite messy, and eventually you might waste a lot of paint.
Now if you don’t have enough space in the freezer, you could cover your palette with a foil( do not press the foil onto the paint), and keep it somewhere safe. This will keep your paint ready to work the next day.
If you have a small box where you could store your palette, then keep your palette in the box. This is to slow down the oxidation process and keep your paint from drying too quickly
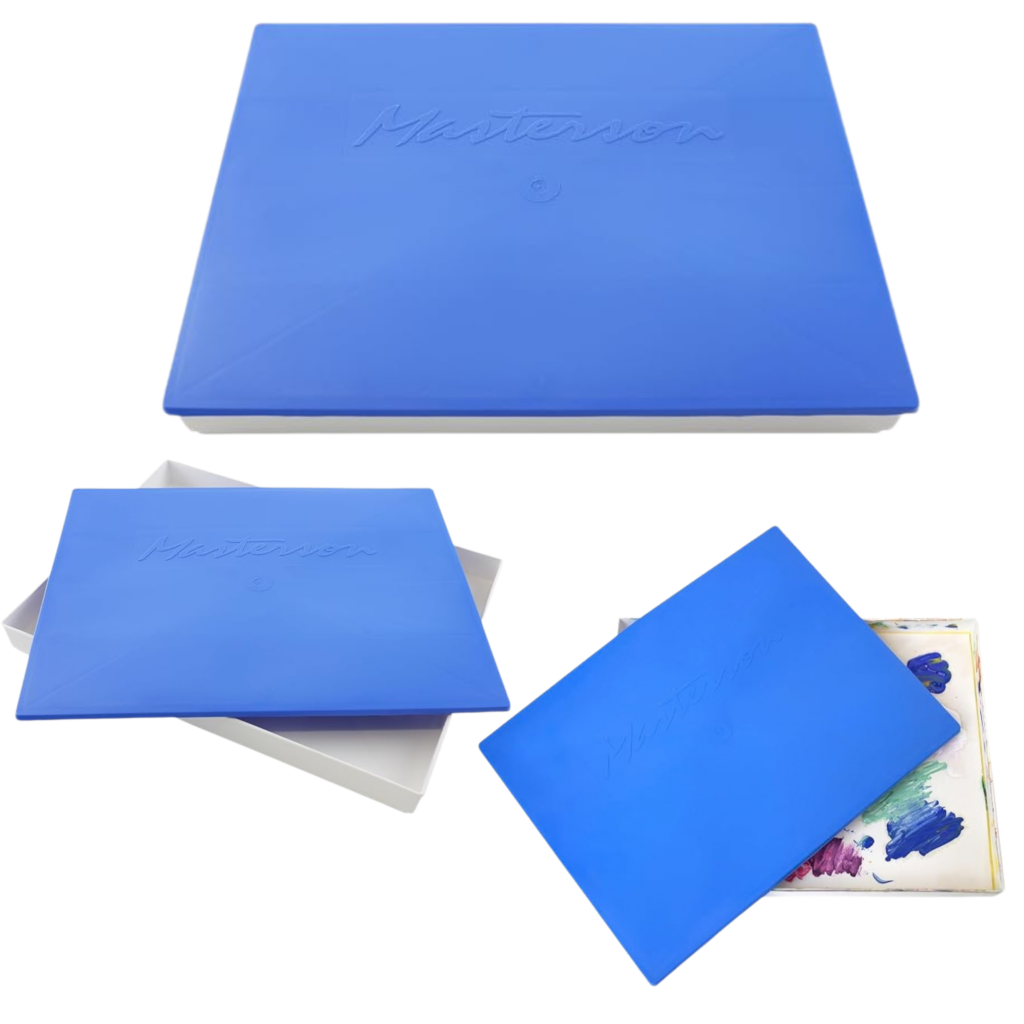
Lastly, if the above points do not solve your issue, choose a palette with a lid, in that case, all you need to do is close the box and keep it in the freezer. No hassle of covering with plastic wrap or foil, whatsoever.
Checkout Masterson Sta-Wet Palette Seal, an airtight container for storing a wet palette.
Thats all for now and please do share your experience and I would love to hear them. Happy painting!
Please note these are affiliate links, and if you choose to make a purchase through them, I may earn a small commission—at no extra cost to you which helps support this site. Thank you for your support!)